

Beginner’s Guide to Growing Dahlias
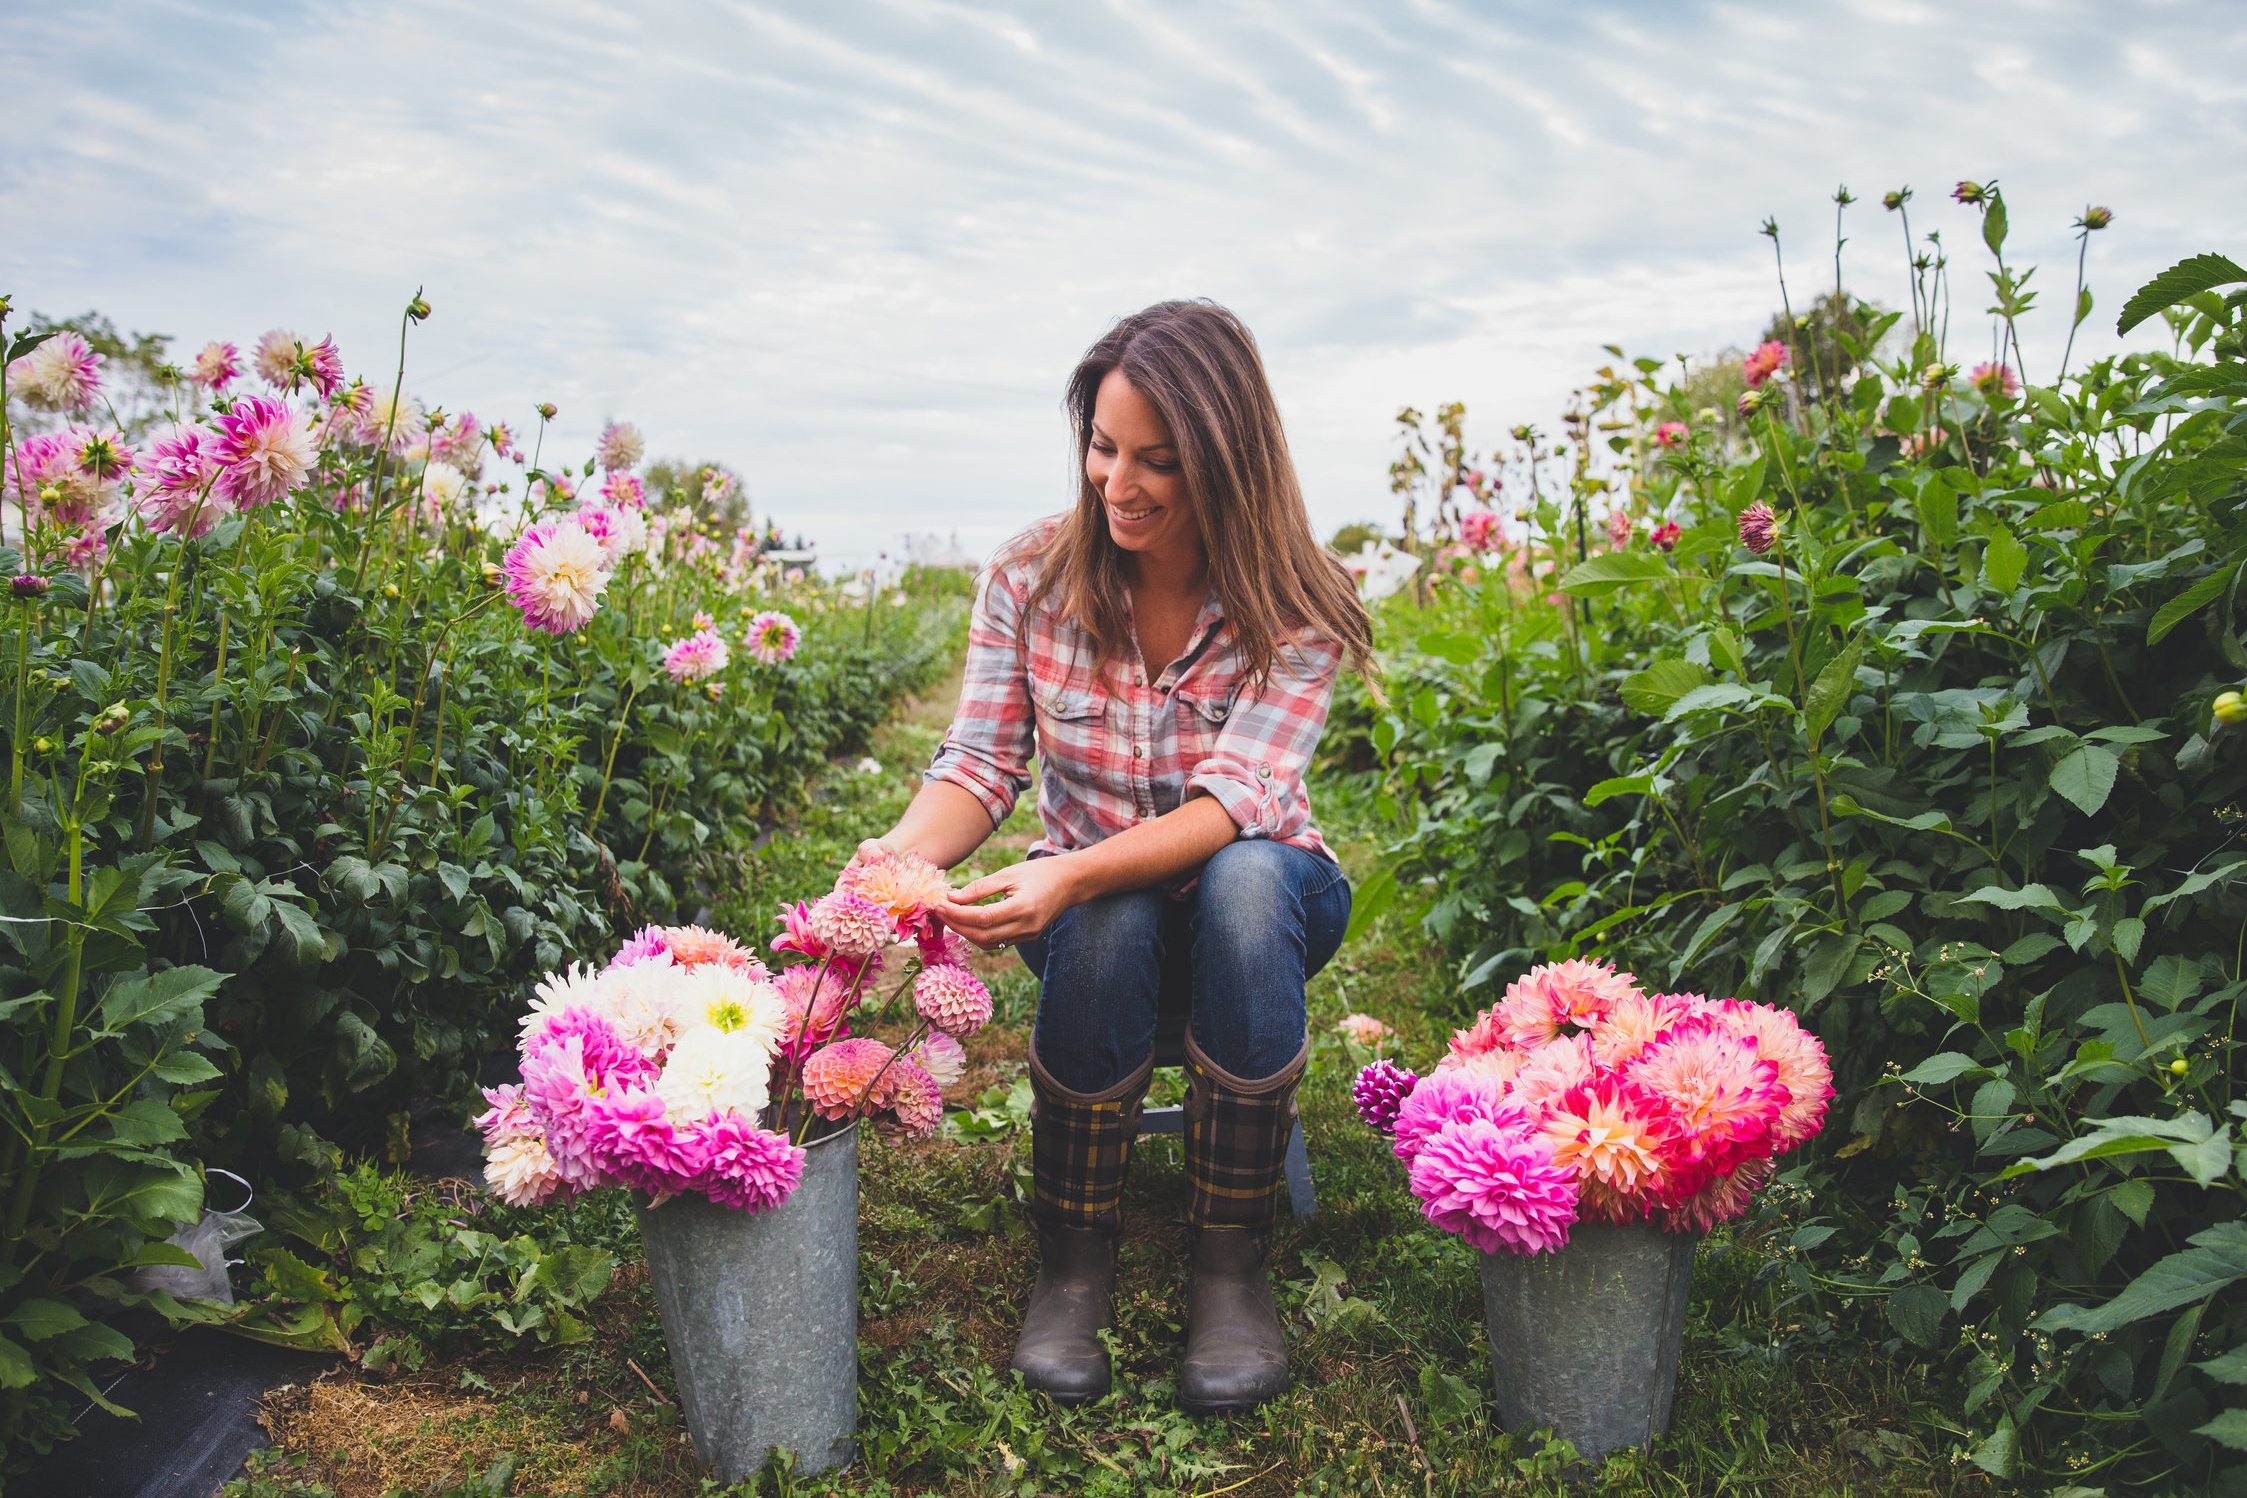
It's hard for me to believe how much dahlias have changed our lives in the last few years...
You can read more about it here, but long story short, my husband came home from work one day and declared that he wanted to start growing dahlias.
As our love for dahlias grew, we read everything we could get our hands on... and my husband even joined the West Michigan Dahlia Association so he could soak up knowledge from dahlia experts and enthusiasts.
In the past few years, we have gained so much experience and currently we grow about 1000 dahlias each season on our small farm.
Below, I’ve compiled a list of some of the most common questions we receive about dahlias. Hopefully this helps you feel more clear and confident about growing dahlias yourself!
Dahlia FAQ's
1. I heard that dahlias are hard to grow. Is that true?
Yes. No. Maybe? While I would say they are NOT difficult to grow, they ARE one of the most labor intensive flowers grown for cutting. So, yes, they are "easy to grow" but require some special care.
They require careful planting, staking, pinching (more about that later) and the tubers must be dug up each fall.
If provided with proper growing conditions, they will perform beautifully and provide you with many blooms over the late summer and into the fall! Here in Michigan, September is “peak season” for Dahlias.

2. What is a "tuber"? Is that like a "bulb"?
Dahlia tubers are sometimes called a "bulb", but they are technically a tuber, similar to a potato. Similar to a potato, the tuber sends up a shoot that becomes the plant, which produces leaves and flowers. Underground, the tubers multiply each year (again, like a potato).
You only need one tuber with one "eye" to successfully grow a vigorous dahlia plant. Ever left a potato in the pantry too long and noticed "eyes" sprouting? Same thing with a dahlia tuber.
Watch the short video below to get an overview of dahlia tubers.
Tubers come in all sorts of shapes and sizes! Some are long and skinny, some are short and stubby, some are huge (up to 10” long!) and some are tiny (the size of your pinky).
It’s a common misconception that “Bigger Tuber = Bigger Plant”. This is not true.
The tuber is simply the food source for the plant until they have about 3-4 sets of leaves. After that, the root system growing from the tuber is responsible for health of the plant.
According to Michael Genovese of Summer Dreams Dahlia Farm, a tuber the size of a AA battery or larger is considered usable. All three of the tubers pictured below are acceptable, but the two tubers on the right are considered ideal sized.

So if tuber size doesn’t matter, what DOES matter?
Two things are necessary for a viable tuber:
1. The tuber MUST have 1 eye. The eye is where the sprout will grow (similar to a potato left too long in the pantry).
2. The neck MUST be intact. If the neck is broken or damaged, the tuber is worthless.

3. Pinching? What does that mean?
If you want your plant to produce multiple blooms, you must "pinch" or cut back the plant early on, when it has reached 12-16" tall. Find the center stalk, count down about 1-2 sets of leaves and make a cut with clean clippers, removing the top inch or two of the center stalk. This signals the plant to "branch out" and put it's energy into creating more branches and more blooms.
If you want bigger blooms (but less flowers in total), then do nothing.
4. Do I need to stake dahlias?
Yes, most varieties will need to be staked, otherwise the wind may flatten and ruin the whole plant. Gently tie the plant to a sturdy wooden or metal stake. A tomato cage would also work!
You can also use netting stretched between posts, hovering about 12-18" from the ground. The plants grow right up into the netting, which keeps them in place.

5. Wow! Some dahlia tubers cost over $15... for just one tuber! Why do they cost so much?
Remember in Question #1 when I said they are labor intensive? Dahlia tubers are not cold hardy and will not survive over the winter in most climates. They must be dug up. By hand!
Dahlia tubers are quite fragile. and break very easily. If they break, they are worthless! As of yet, no one has been able to successfully mechanize the dahlia tuber digging process without suffering major losses. Hand digging is the most gentle method resulting in MUCH less breakage... but it is HARD MANUAL LABOR... hence the high cost of tubers.
Once the tuber clumps have been dug up, they must be divided into individual tubers... yet another extremely labor intensive job, that cannot be mechanized. It's all done by hand!
Keep reading... Question #6 may ease your mind...
![20171101_125409[2].jpg](https://images.squarespace-cdn.com/content/v1/582b872529687fd6acb7423d/1522886249744-NZYXPE3O1SLK0NNJTI77/20171101_125409%5B2%5D.jpg)
6. You said in the video that the tubers multiply each year. Does that mean I'll be able to plant even MORE of them next year?
YES! If you dig up the tubers in the fall, properly store them and divide them, you can easily triple or quadruple your stock in 1 year. Once you factor that into the price of buying a tuber (I’ve paid up to $25 for a single tuber!), they don't seem so expensive anymore!
See the photo below? I planted ONE tuber in the spring... now I have more than I can count! Yes, all of those grew from one tuber.
![20180316_153256[1].jpg](https://images.squarespace-cdn.com/content/v1/582b872529687fd6acb7423d/1522885401599-H3SZO80TID2LLNZECGHB/20180316_153256%5B1%5D.jpg)
7. So... do I HAVE to dig up the tubers every fall? What do I do with them?
No, you don't HAVE to... but then you will have to by new tubers each spring, which gets expensive!
Wait to dig up your tubers until a few days AFTER a hard killing frost. This signals the tubers to go into “storage mode” and you’ll have better success storing the tubers over the winter.
After killing frost, tubers can stay in the ground for a while, so there is no huge rush… but do dig them up before the ground freezes!
Tubers are best stored in a cool, dark location - not too warm (they will rot) and not too cold (freezing will ruin them). A root cellar is perfect.
8. Ummm... how do I divide them? That sounds hard.
I'll admit it takes practice and you will make a lot of mistakes at first, but it gets easier with time.
Want to see how to do it? Watch this short video!
9. Help! I divided my tubers and now they have blue mold where I cut them!
No worries! This type of mold is generally just a surface mold and does not penetrate the tuber. Double check to make sure the tuber is not mushy. If it’s still solid, simply wipe off the mold with damp towel or brush it off.
See the “Before” and “After” photos below:


10. My dahlia tubers arrived in the mail but it’s too early to plant them! What do I do with them while I’m waiting?
No worries, friend! You have 2 options:
1. Leave them right in the bag they arrived in. Be sure to open up the bag to let them “breath” a bit and regulate humidity. Store the bags of tubers in a cool, dark, dry location, such as a basement or garage. Do NOT store them in a place that dips below freezing.
2. Pot them up! You can fill a small pot with potting soil and pop the tuber in there. Be sure to “plant” it tail down, and head up (look for the “eye” or sprout on the head of the tuber). Water the pot sparingly (not too wet, not too dry) and place in a warm, sunny spot. The tuber will send up shoots and leave above the soil and roots into the soil. Simply transplant outside when the weather warms up, being sure to cover the crown of the tuber.
Ok, feeling a little more confident now? Read on for instructions on how to grow these beauties!
How to Grow Dahlias
1. Choose a location with at least 6 hours of direct sun (the more sun, the better!) and well drained, fertile soil. Compost and all-purpose fertilizer worked into the soil before planting will help.
2. Plant AFTER the threat of frost has passed (about May 15, here in West Michigan). The soil should be warm and well drained.
3. Space tubers about 18” apart. Dig a hole about 4-6" deep and wide enough to accommodate the tuber. Place tuber in the hole with the "eyes" at the top (or lay it on it’s side) and back-fill the hole gently, covering the tuber completely with a few inches of soil.
4. DO NOT WATER after planting, unless the soil is super dry. You want the soil to be just slightly damp. Too much water can cause the tuber to rot. REPEAT: DO NOT WATER. It's also wise to check the weather and avoid planting right before a huge rain storm.
5. Once the plants have sprouted, you may begin watering regularly. When plants reach about 8", begin fertilizing with all purpose liquid fertilizer about twice a month.
6. Pinch the plants when they reach about 12-16", to signal the plant to produce more branches (and more blooms).
7. Plants begin to bloom in late July and produce heavily until the first killing frost of the season.
![IMG_20171111_121012_638[1].jpg](https://images.squarespace-cdn.com/content/v1/582b872529687fd6acb7423d/1522885053209-L1EJTKY2QQ549ZIE6FU4/IMG_20171111_121012_638%5B1%5D.jpg)
Questions? Comments? Just let us know.
Happy planting!