How to Preserve Garlic: A Fast, Easy Method!
How to Preserve Garlic
About 6 years ago, a fellow gardening enthusiast asked me if I wanted any garlic plants. Having never planted garlic before, I said "Sure! I'll give it a try!"
Dan brought over a 5 gallon bucket stuffed FULL of tall thin green shoots and told me they would turn into garlic. I was skeptical, but had nothing to lose, so I planted all of them.
Let's just say since that first harvest, I've never bought garlic from the store again. Ha! Every year I'm overrun with it.
Thankfully, I figured out a super easy preservation method for garlic. I spend one afternoon each year preserving a year's worth of garlic, so that when I'm ready to cook with it, it's ready to go!
I've been using this method for over 4 years now and I LOVE it.
You can use this method with garlic purchased at a Farmer's Market or store... or using garlic from your own garden.
Garlic is ready to be harvested when the tops of the leaves turn brown and start falling over. Gently pull up the whole plant, with the bulb at the bottom. Allow to "cure" in a dry, well ventilated place for a few days (like a covered back porch).
How to Preserve Garlic
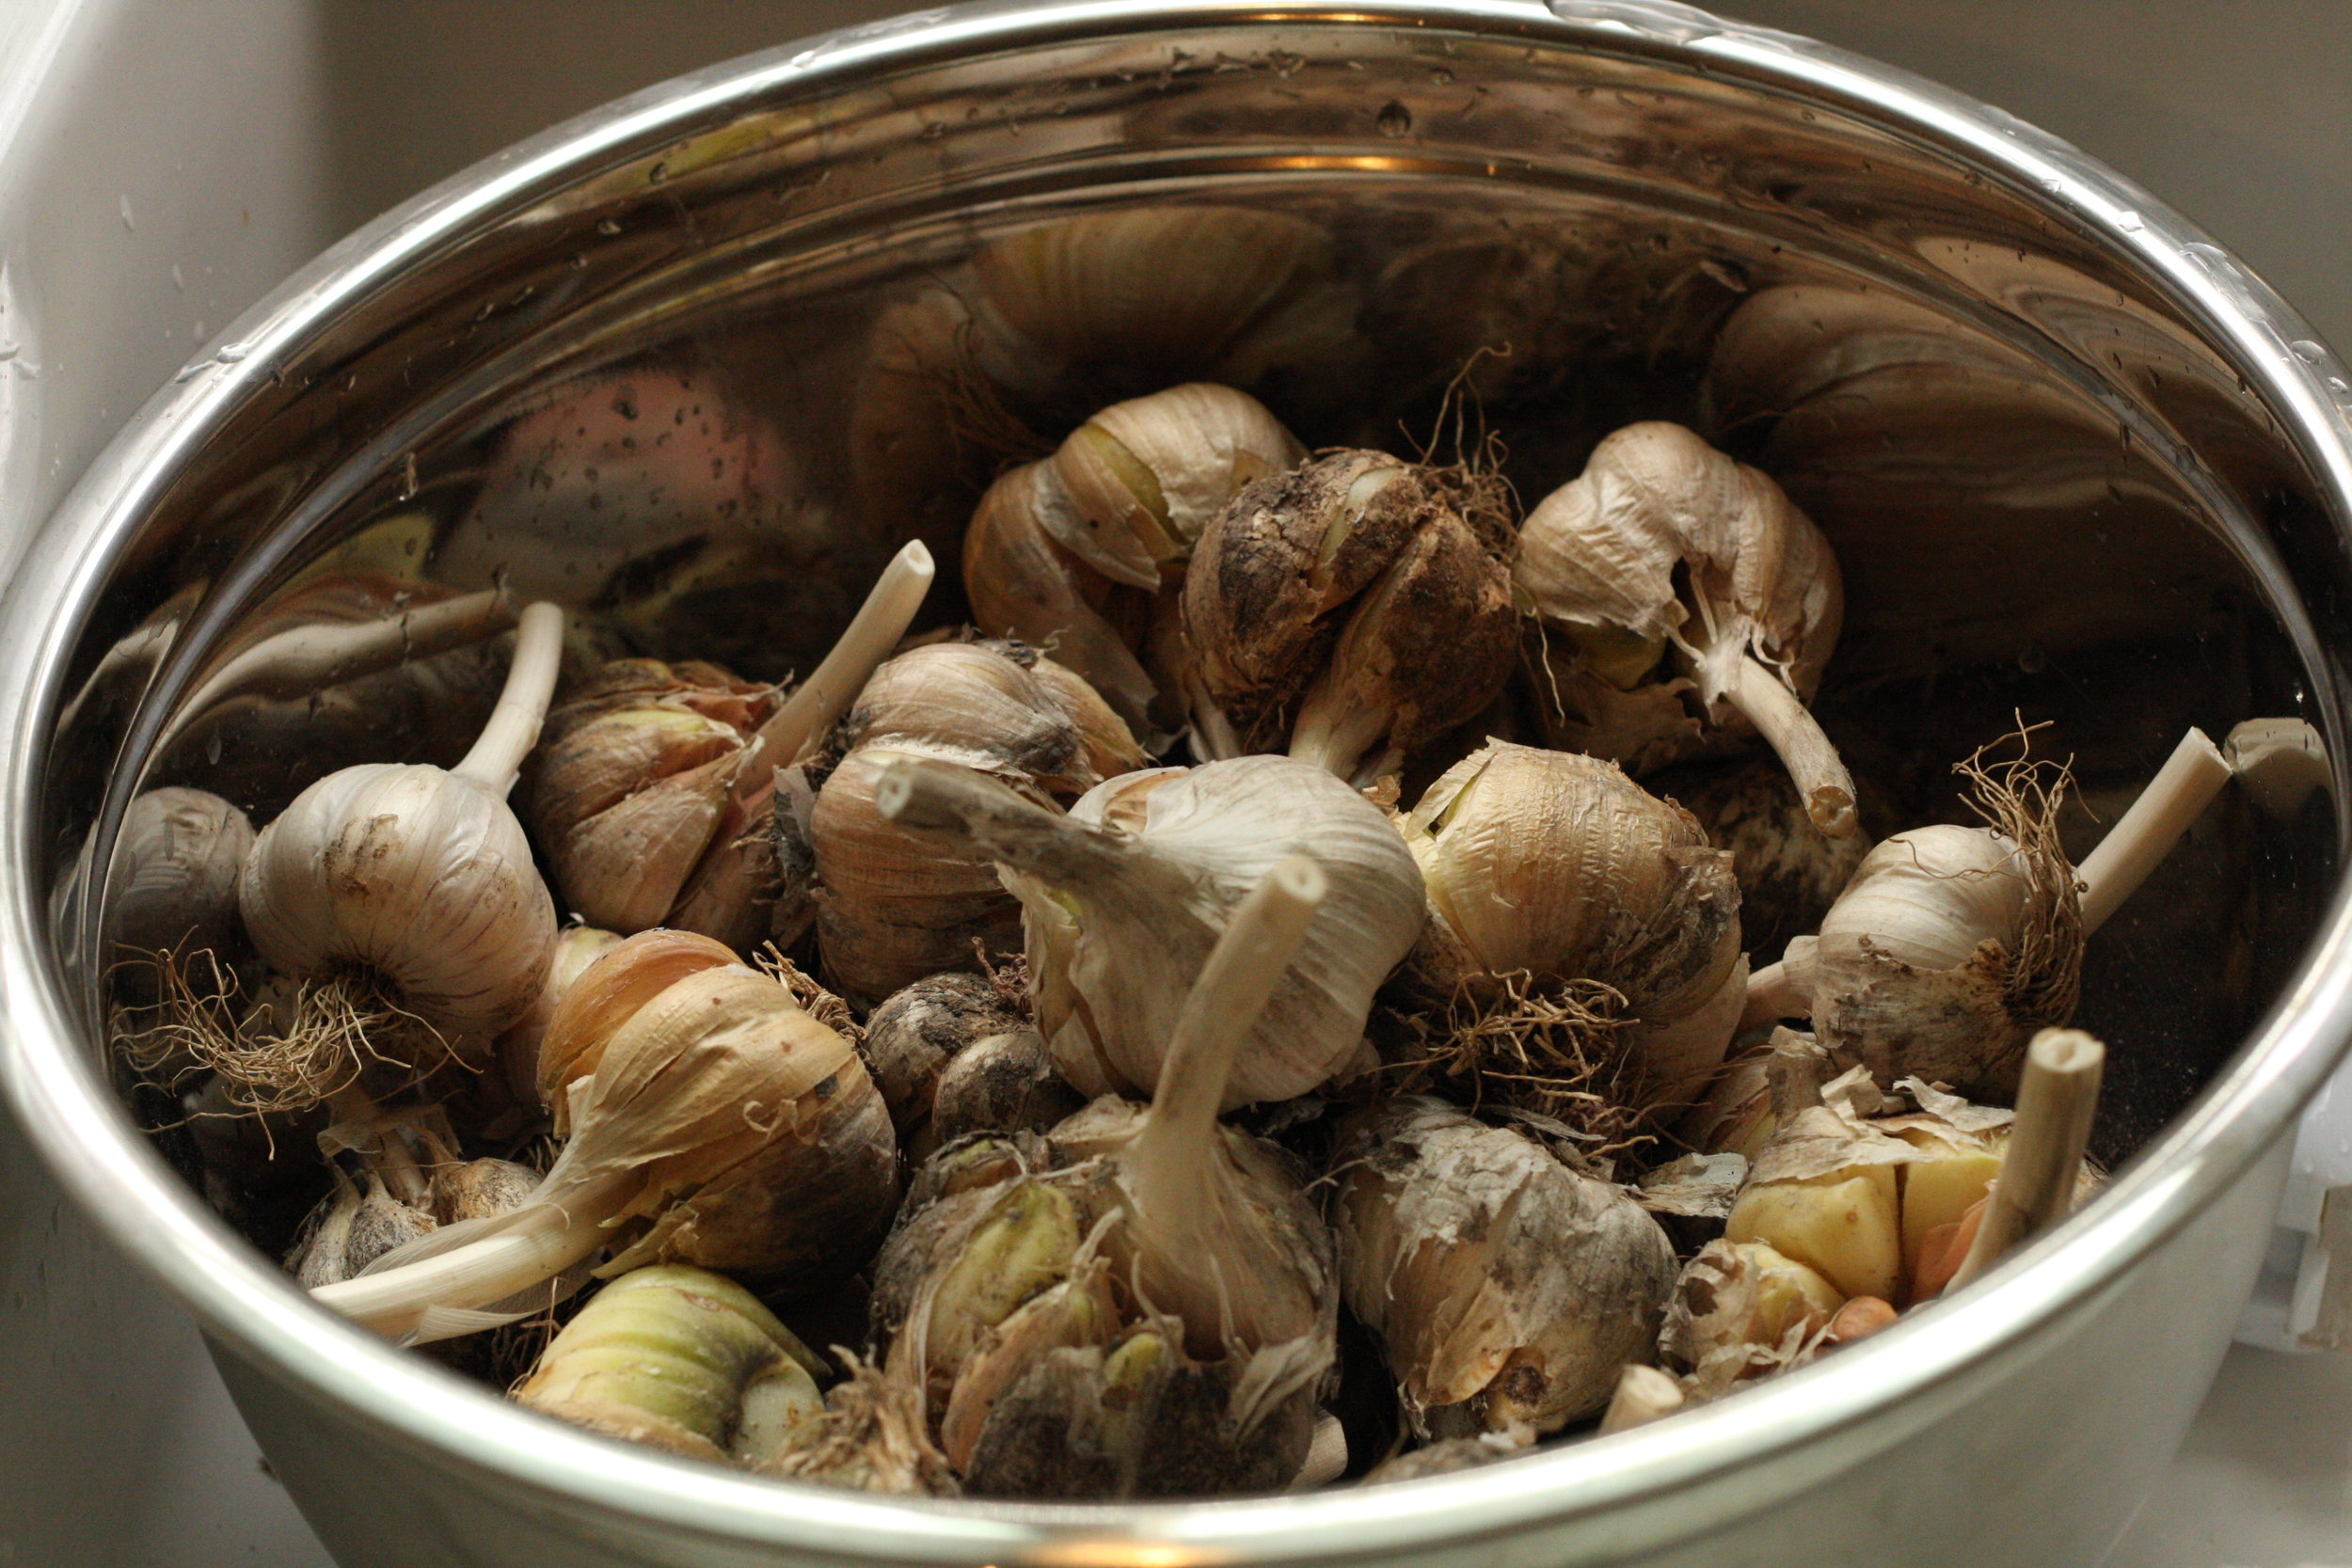
1. Gather your garlic heads/bulbs and place them in a large bowl.
*Note: I usually sell all my "good looking" garlic bulbs and keep the "uglies" for our own personal use. These bulbs in the photo are the "uglies" - they don't look as pretty, but they are still just fine to use!
2. Fill the bowl with water. If the garlic is very dirty, you can refill and rinse the bulbs a few times until the water is cleaner.
Allow the bulbs to soak for about 10 minutes to soften the papery "skins".
3. After about 10 minutes, begin removing the skins from the individual cloves until they look like the cloves in the photo below. Do not cut off the ends. If the clove is very damaged, discard it.
*Note: This part is time consuming, so invite a friend over to help you while you chat... or put on your favorite show on Netflix. ;)
Rinse the cloves in a colander/sieve a few times, until they are very clean. Place on a clean towel to drip dry.
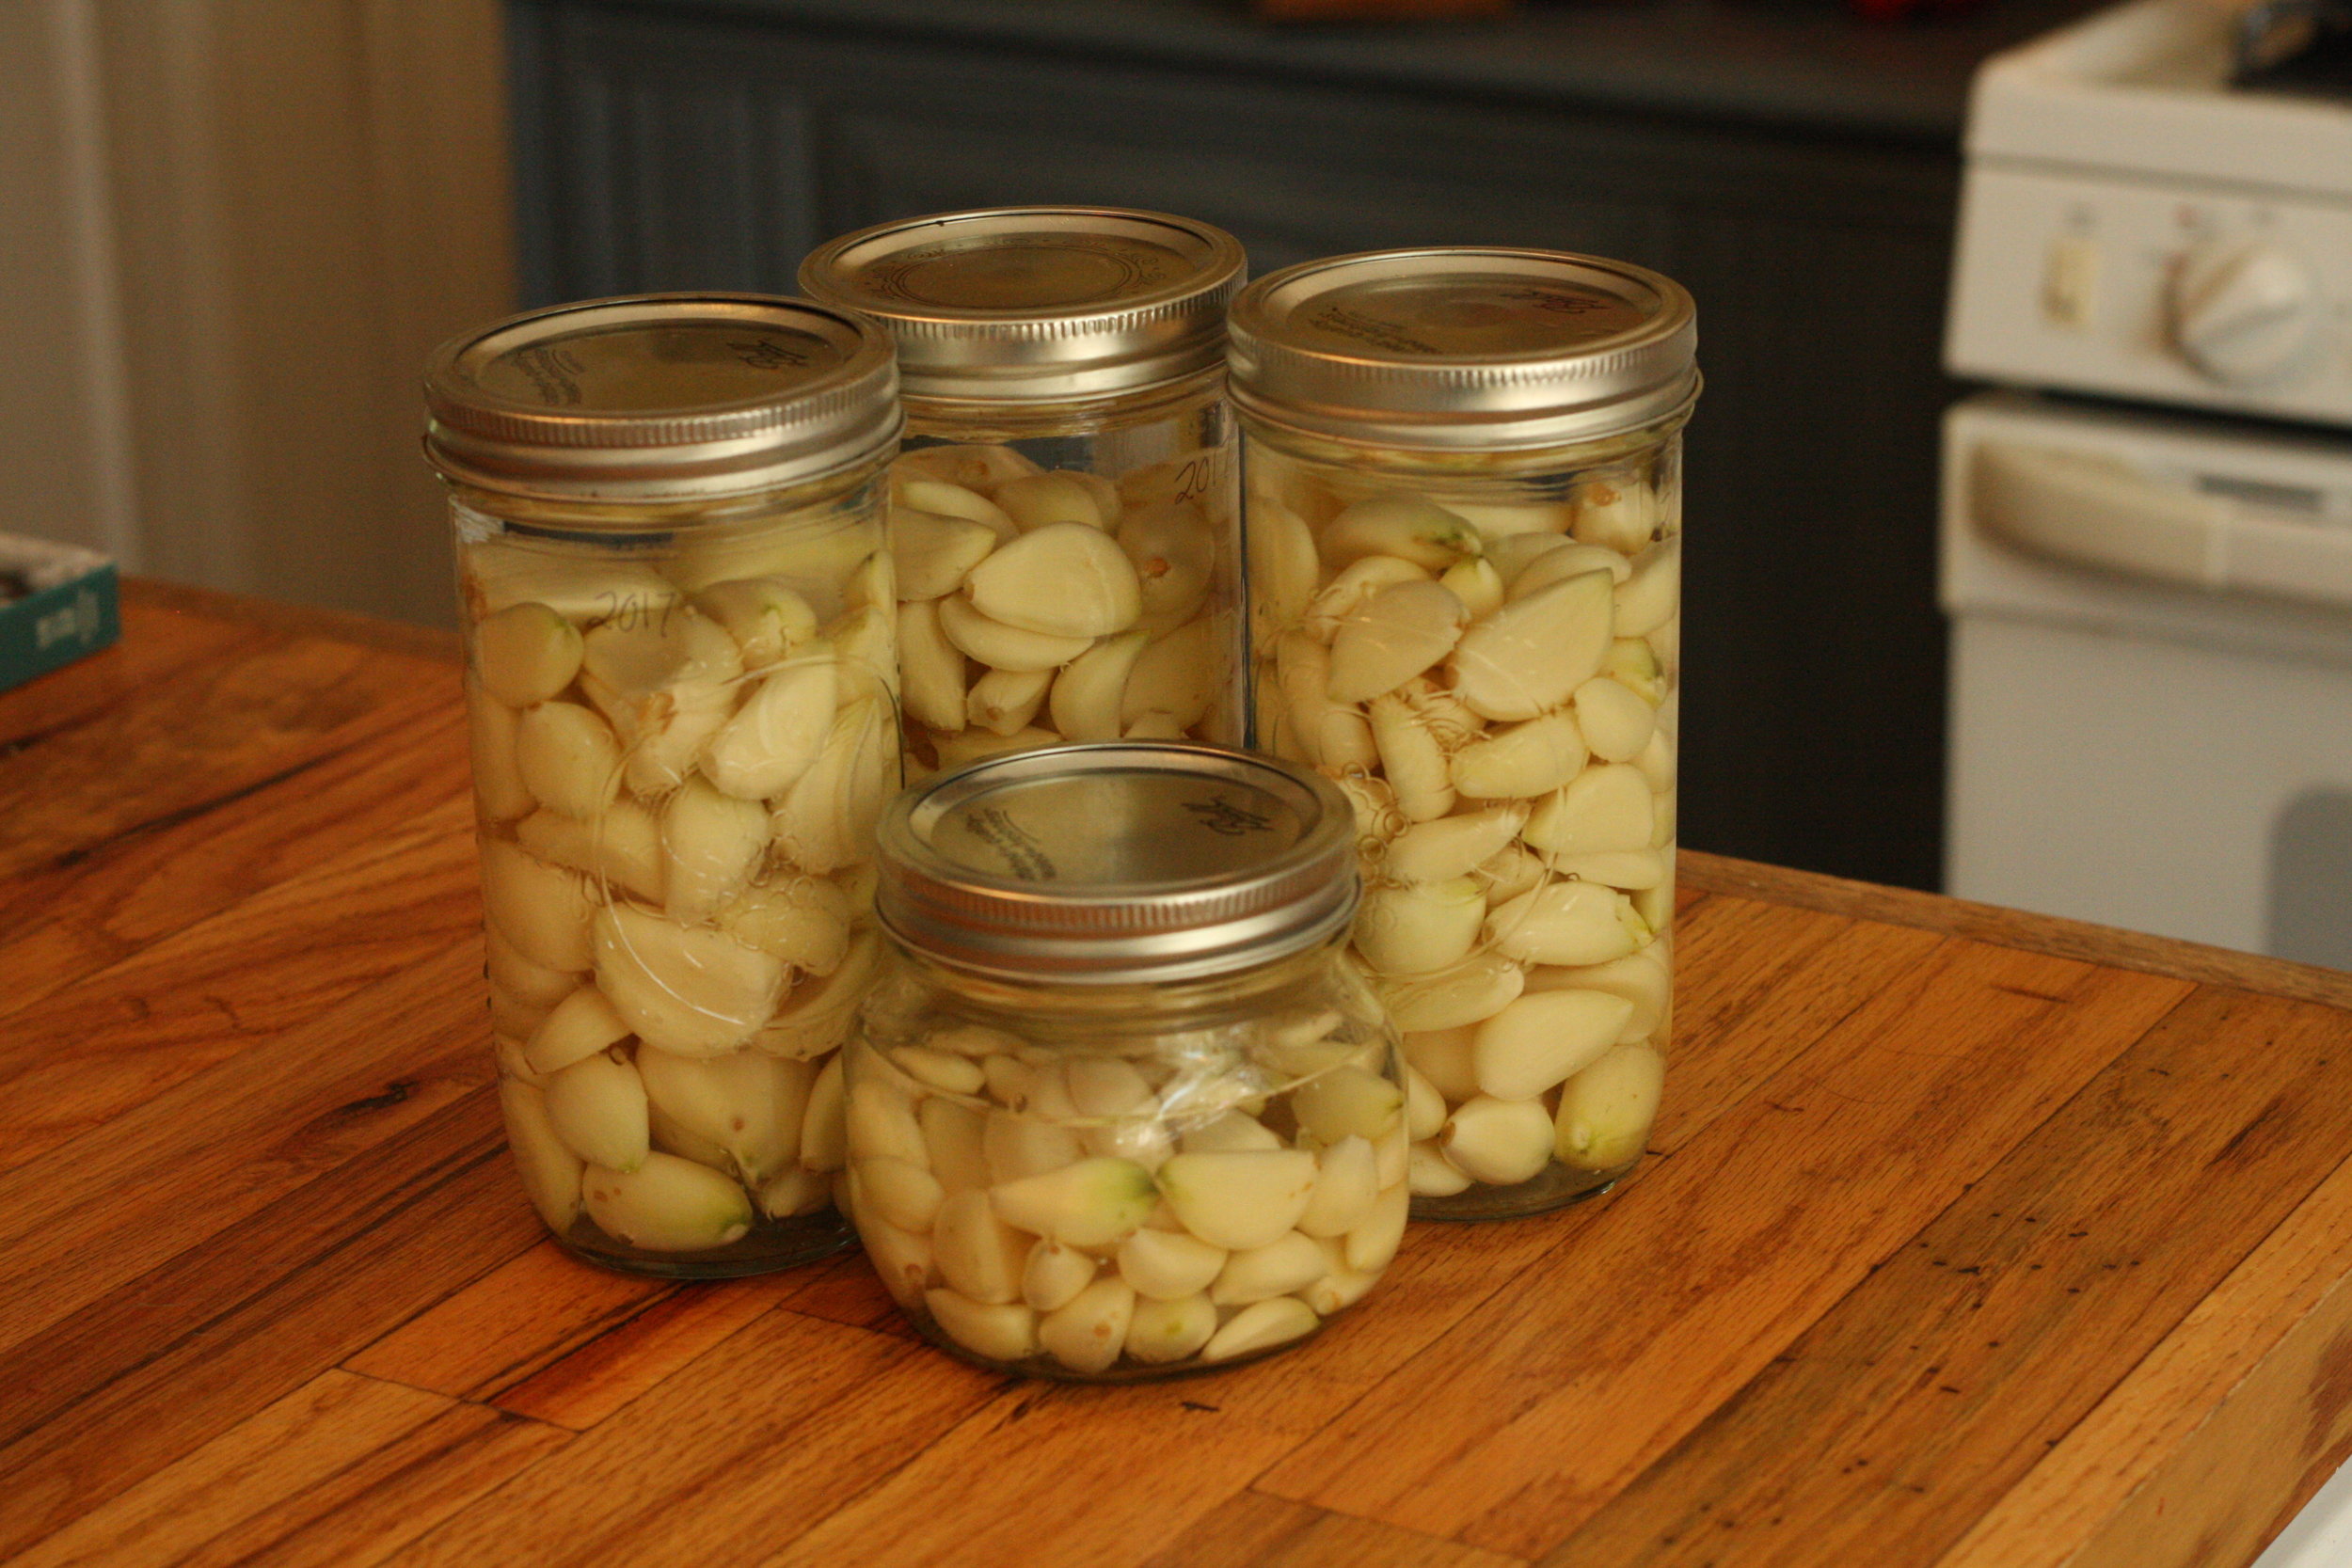
4. Choose a jar large enough to fit the cloves and fill it up with the garlic cloves, leaving about an inch of headspace.
Then pour pickling vinegar into the jar until all the cloves are covered in vinegar.
5. Place a lid on the jar and store the "pickled garlic" in the fridge. That's right - no canning!
Even though the garlic is soaking in vinegar, it really does not develop a "vinegary" flavor, as long as the cloves are intact (this is why we don't remove the stem end of the clove).
The preserved garlic will last a long time, at least one year. We are working through a jar of garlic that is over 2 years old and there are no flavor or quality issues.
How to Use Your Preserved Garlic
You can use your preserved garlic in any recipe that calls for fresh garlic. All you have to do is:
Remove a clove from the jar (always use a clean utensil, like a fork or spoon, so the contents of the jar stay clean)
Rinse it off with water if you don't want to add a vinegar flavor to the dish. If you don't mind the vinegar flavor (say you're making fresh salsa), you don't have to rinse.
Use it just like fresh garlic - mince, chop, slice or crush.
I'll be completely honest - I used to omit garlic from many of my recipes because I was too lazy to peel the paper off the garlic cloves. It was just one more time consuming (and messy!) step when I was already feeling rushed.
Now, I love the convenience of being able to reach in my fridge and grab exactly what I need.
Hope this method makes your life a little bit easier too! Enjoy!
*Note: Occasionally, you may notice a few garlic cloves turn blue or green. Maybe you've seen this happen to garlic in a jar of pickles too.
Don't freak out! It does not effect the flavor or safety of the clove. No one knows exactly why it happens, but it's something to do with enzymes breaking down. Again, it's perfectly safe to consume, but if you feel weird about it, just pitch it!


